
01
1. Customer जोड़ें या चुनें
Customer name, contact, address और GST number save करें, फिर invoice के लिए customer चुनें।
Small-business billing desk की जरूरी जानकारी व्यवस्थित करने के लिए यह product workflow उपयोग करें।
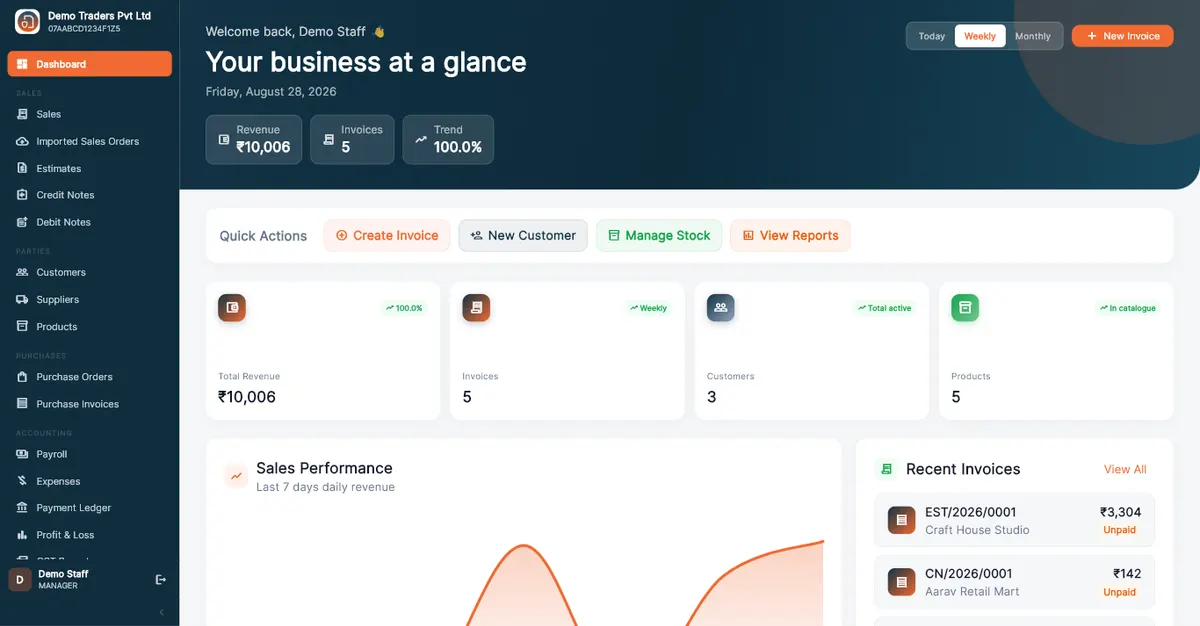
Customer name, contact, address और GST number save करें, फिर invoice के लिए customer चुनें।
Customer name, contact, address और GST number save करें, फिर invoice के लिए customer चुनें।
Relevant products और quantities जोड़ें, फिर save करने से पहले billing और GST values देखें।
Available payment information जोड़ें ताकि saved invoice बाद में review में मदद करे।
पुराने invoice के लिए customer-linked history देखें, और चाहें तो WhatsApp, SMS या email से invoice details या due alert भेजें।
अभी नहीं। IRN या e-way bill सरकारी portal पर बनाएँ और numbers invoice पर दर्ज करें; ये PDF पर print होते हैं और Excel export में दिखते हैं। GSTR-1, GSTR-3B और GSTR-9 summaries आपके CA के लिए screen पर दिखती हैं, और invoice register Excel में export होता है।
हाँ, Excel से। App के अंदर items, customers या suppliers का template download करें, भरें और .xlsx या .xls file import करें। दूसरे billing apps या opening balances के लिए direct importer अभी नहीं है।
Google से sign in करें, installer download करें और free billing शुरू करें। Wallet में पैसे सिर्फ WhatsApp, SMS या email भेजने के लिए डालें।